Focus on the intensity and direction of the light. Often times we'll find ourselves in situations with far too much light, which can be difficult to shoot because if it's an extremely sunny day, the light will generally be very harsh, causing areas that are much too bright and shadows that are much too dark.
Pay attention to the direction of the sun. Try to arrange your subject so that the lighting comes from a side angle rather than directly in front of or behind the subject. You don't want to blind your subjects, not to mention make them squint, by having them face the sun. You also don't want to point your camera so that the sun is directly in your lens as this creates difficult exposures as well as lens flares (though flare can certainly be used effectively in specific situations.) If you do find yourself in a situation where you have backlighting (where the light source is behind your subject) you have two options that we've already explored through our challenges in previous weeks: expose correctly for your subject and have the background overexposed, or use fill flash to expose your subject while the camera exposes your background.
In this picture the sun is too harsh and causes really dark shadows and the skin and white shirt are too bright.
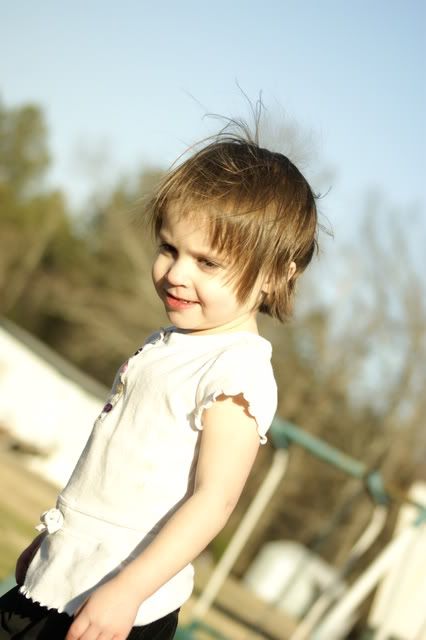
In this photo she is squinting and there dark shadows.
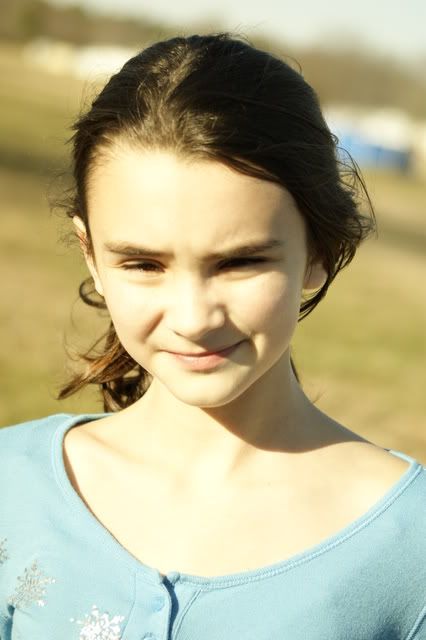
With this one the sun really highlights the hair so you can really see how much it really sticks up. If I had taken the time, I could have used fill flash and her face would be better exposed but I didn't think of it at the time...still learning and trying to remember to put to use all the info from the course. That's why I practice. :)
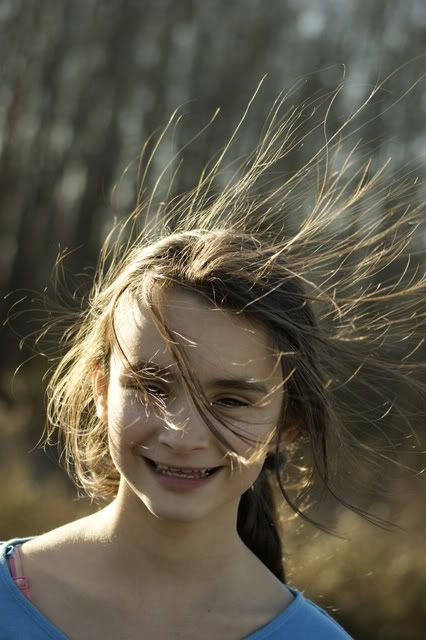
For these we simply moved into the shade. (These are SOOC and I'd love some CC on what you think would make these even better. All taken using a 75-300mm lens. Thanks!)
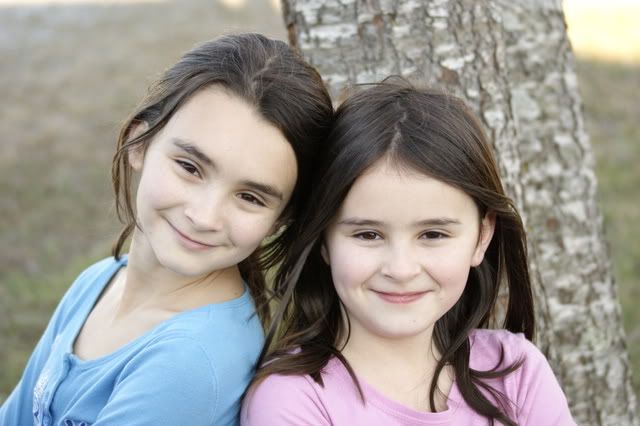
ss: 160, f/4.5, ISO: 400
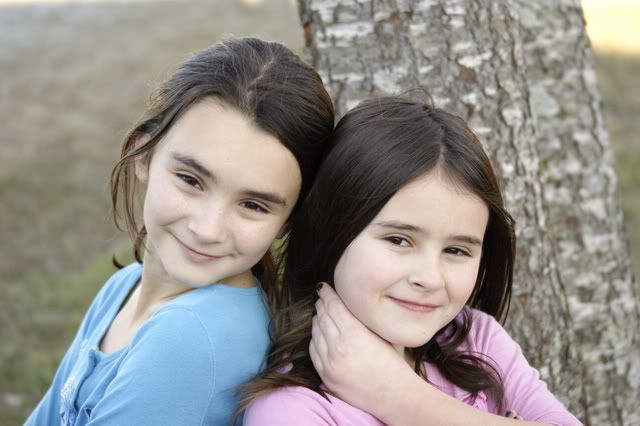
ss: 160, f/4.5, ISO: 400
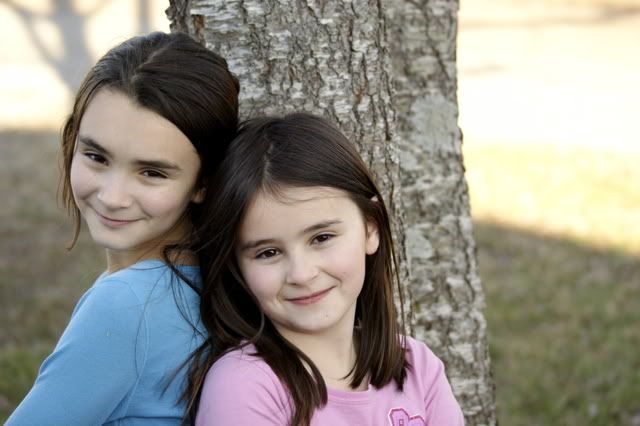
SS: 125, f/4.5, ISO: 200
This week's challenge was using macro outdoors.
Macrophotography, according to the online Oxford American Dictionary, is defined as photography that produces photographs of small items larger than life size. Since some of themost wonderful things to shoot outdoors are very small (such as flowers, insects, and water droplets) it's very helpful to use the macro mode on your camera or a lens with a macro option.
Usually indicated by a flower icon on the dial of your camera, selecting the macro mode indicates to your camera that you want to get a close-up. However, here's the catch: while the macro mode works effectively on point & shoot cameras, on SLR & dSLR cameras the same setting merely sets the stage for using a lens with a macro. Basically, the main job of macro mode on your point & shoot camera is to effectively reduce the minimum focal distance -- the distance between the camera and the subject. What this means is that when you are using macro mode you should be able to hold your camera closer to your subject than when you're not using the mode. Macro mode on an SLR camera without a macro lens will still provide you with a pleasing, shallow depth of field, but using it does not have the same effect that using a macro lens would give you in order to highlight your small treasure.
The challenge...
1. With your point & shoot camera -- We want to see the difference between macro mode & another mode, so simply take a picture of an object after selecting macro mode on your camera. Move as close to the object as your camera will allow. Then take the picture again in a different mode.
2. With your SLR/ dSLR camera -- If you have a lens with macro, use it! (Use a tripod for more control and ease of use.) Unfortunately, if you don't have a lens with macro, the macro mode setting will just give you a shallow depth of field for your photos. You can still take a photo using this mode, but it's not the same as having a lens with a macro. To compensate, you could try "imitating" a macro shot by taking a photo and then cropping it very closely in a photo editing program.
When I first bought a macro lens I quickly became addicted!
Being the middle of winter I had to hunt for something better than dead leaves and grass to photograph outside in my yard. I finally found one single yellow dandelion on the edge of my driveway. It's a good thing macro photography can make just about anything look cool.
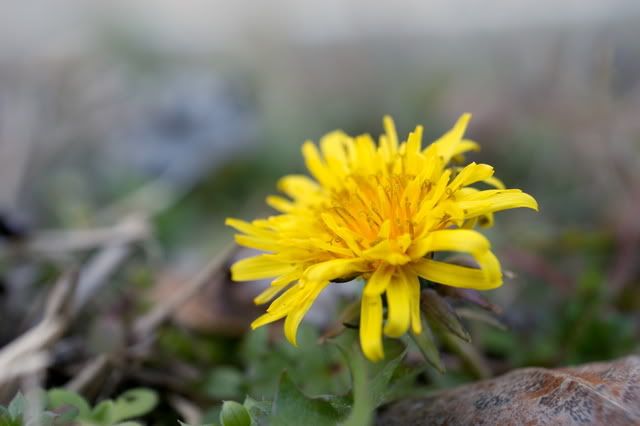
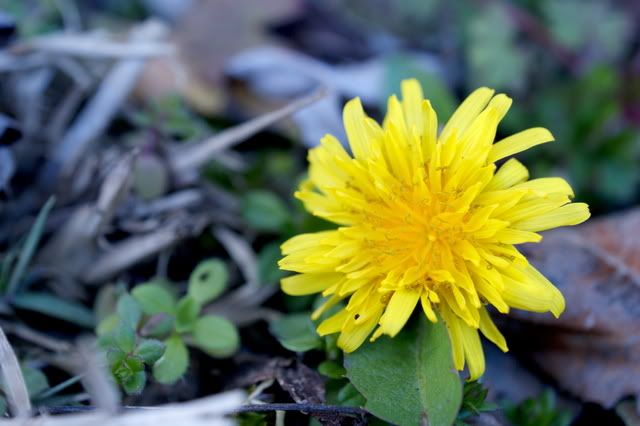
A few steps away I found this little guy. I do love dandelion puffs.
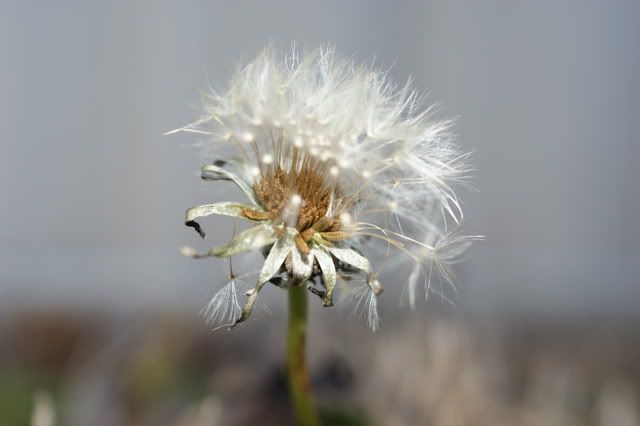
To view more of my macro photos click here.
The info I shared was found in the 2 Peas photography course. Click here to read more.


8 comments:
Looks like you are doing good with the 2 peas course. I'll be back to CC as I need to put my daughter to bed. TFS.
Think you are doing great - can't give you cc as I am not there yet - but I love your photos!
The one of her hair flying in the hair is too funny! :) Looks like you're getting some good practice!
These are great examples of using the light. I'm not good with people photos, but one thing I'd do on your examples is bump up the contrast.
I think you're learning quite nicely. I think on the photos of the girls, your focus looks great. Maybe add a bit more contrast or even, underexpose slightly to allow for any editing, but really...nice job.
Macro photography is a beast I'm not all the experienced with, but I know that composition is really important.
Your macro shots look great! Some of your shots look flat to me...you might consider playing with the contrast a bit and see if you can liven them up.
You did great this week. I love the last photo of the girls and the last macro shot. I noticed you said these were SOOC. I think they look good for photos you haven't PP with contrast. Keep up the good work.
Good job on practicing, I like how you included the ones that came how how you wanted and the ones that didn't. I really like the first of the last two shots of your two girls! And the second macro is great, I like the composition and focus on both. :)
Post a Comment